
Hello, Hello!
It’s time for another Blog Hop with a new group that I joined called Inspire, Create, Share, or ICS for short! It’s a monthly Blog Hop and I am excited to be playing along with these very talented ladies! This month’s theme is Christmas Cards Galore. WooHoo! Let’s get started!
Today I want to share with you one of my favorite stamp sets and matching framelits: Beautiful Baubles! I drooled over this for awhile and then finally told myself to just order it! I am so glad I did!
I made a card with it for another Blog Hop…check that out here. Now I have come up with 2 other cards. The first I CASEd (Copy And Share Everything) from a card I got in a swap I did with Holiday Catalog products from a demonstrator named Jacqueline Schulz. I liked how she had offset the ornament.
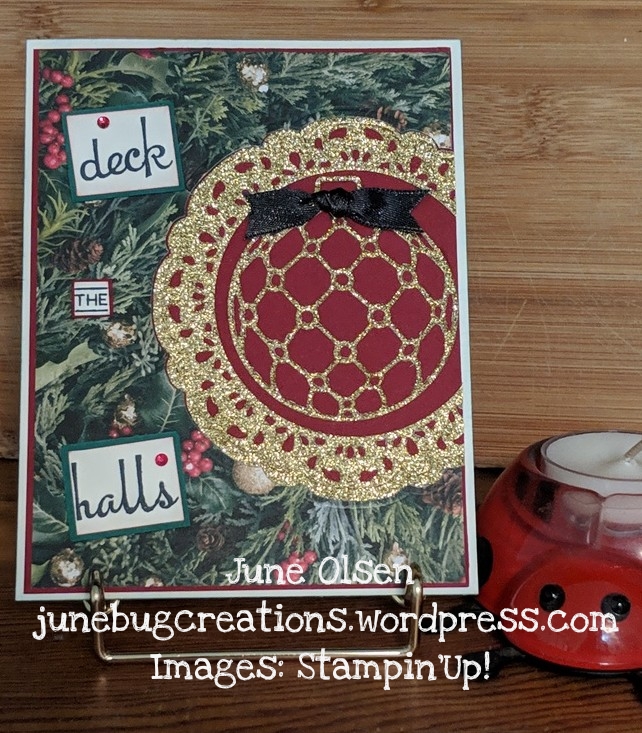
Hers was copper and brown tones, I used the Gold Glimmer paper for the ornament and ran it through the Big Shot using the Precision plate because it is such a detailed framelit. I topped it off with some Black Shimmer Ribbon tied in a knot with the ends trimmed up. A piece of All Is Bright DSP (Designer Series Paper) is my patterned paper. I liked the greenery. Cherry Cobbler cardstock as my middle layer and Very Vanilla as my card base. I distressed the Very Vanilla with Shaded Spruce ink and a sponge. I also used Cherry Cobbler behind my ‘THE’ and Shaded Spruce cardstock behind my ‘deck’ and ‘halls.’ I used basic rhinestones and discovered that I don’t need to use a sharpie to color them (Thank you, Connie Stewart!)…I can use my Cherry Cobbler Stampin’ Blends markers instead! Yay! Perfect color matching, which is one of the things I love most about Stampin’ Up products!! I stamped the sentiment outside and inside using Momento Tuxedo Black.
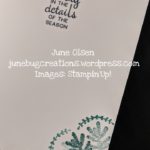
For the inside I used the bough from my Nature Sings stamp set to decorate the corner. I stamped in Shaded Spruce and stamped off 3 times to make it get lighter and lighter. Looks like 3 different shades, but it is just 1 inking of the stamp and then stamping it 3 times. One of my favorite techniques. Then I used the curved stamp to make it look like a heart from the Christmas Pines stamp set.
My next card was more simplistic:
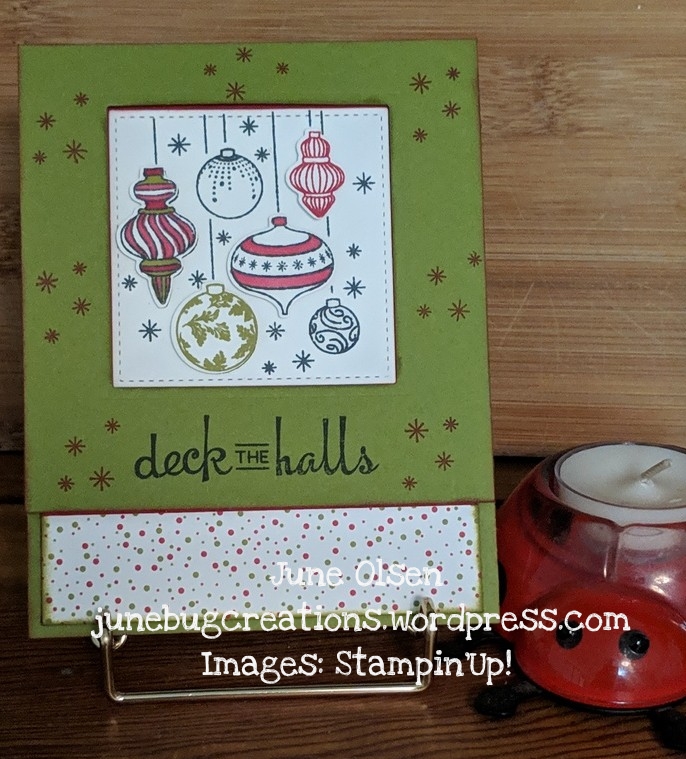
I used Old Olive cardstock for my base, a small piece of DSP from the Under the Mistletoe packet. I used Real Red ink to stamp the stars and distress the edges of the card. I trimmed off a small portion of the top of the card to allow the DSP to show and used a square Stitched Framelit to cut out the square. Then I stamped the Whisper White square with the ornaments in Momento Tuxedo Black. I stamped that 3 more times in Tuxedo Black, Real Red, and Old olive and then ran them through the Big Shot. I colored some ornaments on the black stamped images. Then I used dimensionals to place the colored ornaments over the plain black ones on the square. It gives them pop and color!
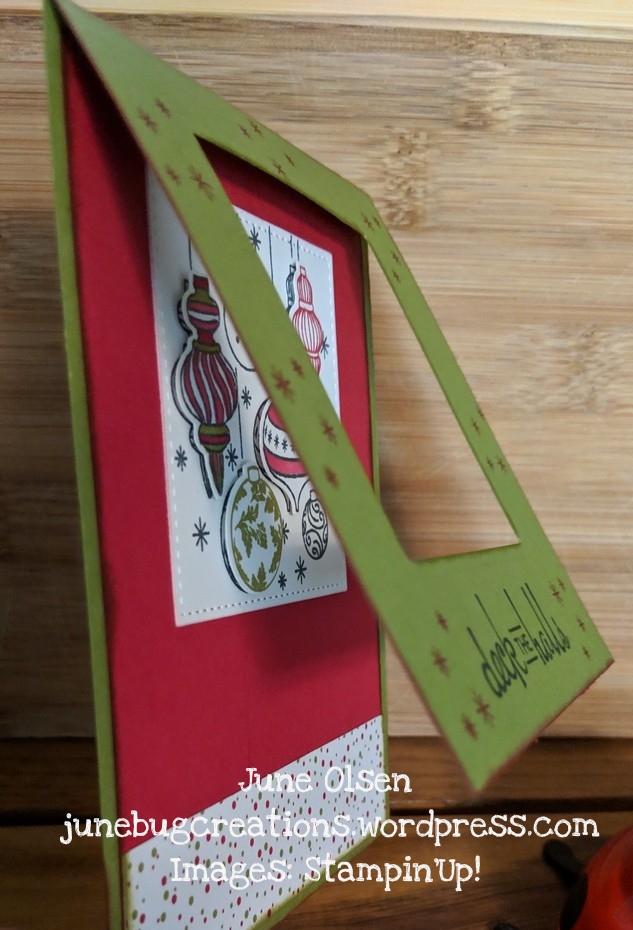 As you can see, I also used Real Red cardstock on the inside to give it more of a festive feel. The sentiment is stamped in Tuxedo Black. I love these Stitched framelits and how they give a little border!
Well, I think that is it for me. Thank you for joining us, you can now see what Ginger has in store for you! Click on the next button!
Thank you for reading and taking this crafting journey with me! It’s nice to have you along! Enjoy your Stampin’, Scrappin’, and Craftin’ journey and feel free to share with me! I love to see what others create!
Blessings, June
**If you like items that you saw me use, please your SU Demonstrator. If you don’t have a demonstrator yet, I am happy to assist you with your stamping and crafting needs! You can order by clicking on the underlined words in the text or Click Here Now. Or you can leave me a comment and I will contact you. If your order is less than $150, please use Hostess Code MHSJJNKY and I will send you a personal Thank You card and gift. If you place an order over $150, enjoy the rewards you’ve earned and receive a special Thank You from me in the mail as well!**
Current Happenings with Stampin’ Up! Click on any picture to get information!

Until Jan. 3, 2018
Until May 31, 2018
Coming soon



Comments 29
Very cute card! I love the gold glimmer paper with that DSP!
Author
Thank you! It was my first time using the Glimmer Paper…could become a habit! 😉
Very festive cards. Love the sparkle and shine on top and the peek a boo window on the bottom card.
Author
Thank you!
June, these cards are gorgeous!
Author
Thank you!
Fun cards! I love the second one and how it frames the ornaments.
Author
Thank you!
Cute cards….especially love the framed one!
Author
Thank you!
Love all the sparkle and glitz you used on your card. You did a great job showing off both the dies and stamps in the Beautiful Baubles bundle
Author
Thank you! Wasn’t sure how many cards we were supposed to do, so I figured I covered my bases with two. Christmas is definitely the time I use the most bling.
Love the colorful ornaments making for a festive card!
Author
Thank you! I have seen them used in so many ways, they really are fun!
Author
Thank you!
Beautiful!! I love the way you separated the words on your card!!
Author
Thank you! That was actually my hubby’s idea since I had centered the ornament instead of having it lower like she did.
cute cards!
Author
Thank you!
So sparkly!
Author
Right? Thanks!
The Glimmer Paper really shows off the detail of that ornament. So pretty!
Author
Thank you! It’s one of my favorite holiday sets now!
Author
Thank you! It was my first time using the glimmer paper! I’m hooked!
I love how that reminds me of a pretty handmade doily!!! That’s sooooo pretty!!!!
Author
Thank you! I hadn’t thought of it that way, but you are right!
I LOVE you’re gold glitter ornament, it looks like an old fashioned Christmas theme and sooo pretty!
Author
Thank you so much!!
Author
Thank you!