Hello, Hello!
It’s that time of year when I start thinking about snow! We live in Whitefish, Montana and when you live here you have to pick a winter hobby…besides staying inside crafting all the time, which would suite me, but not my guys! 😉
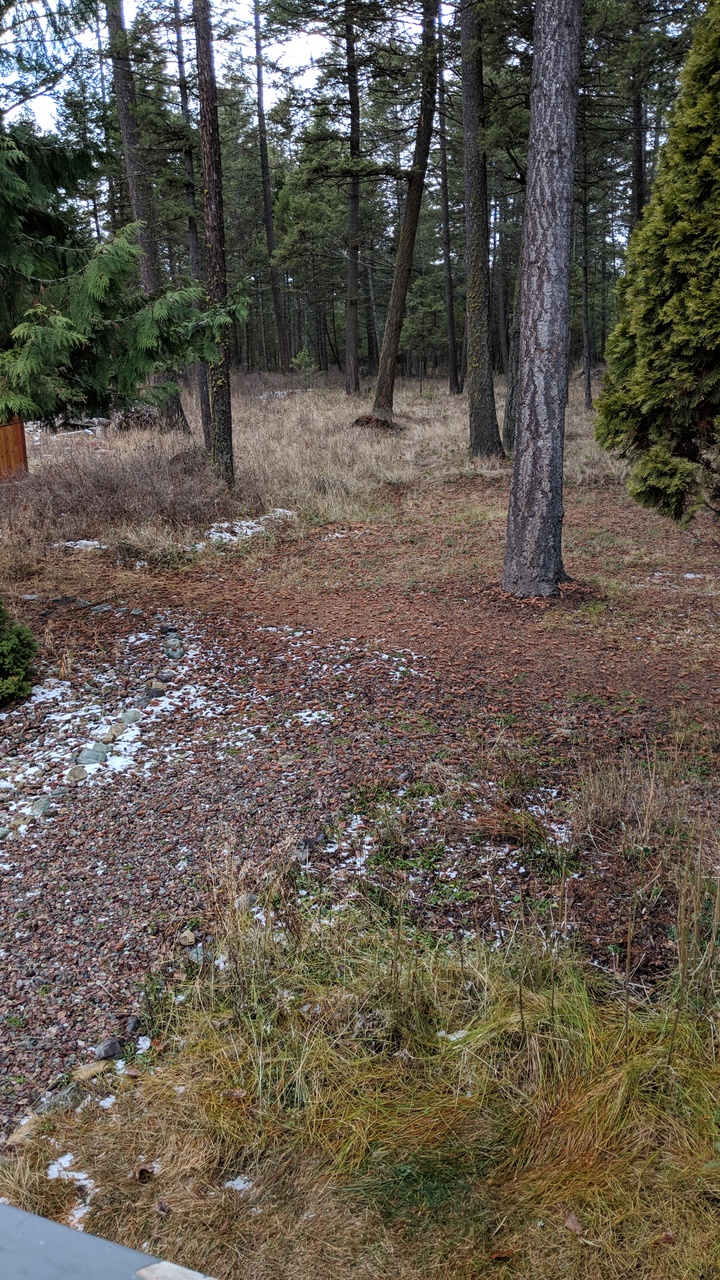
We chose snowmobiling! And this year we are all set with avalanche gear (of which I trust we NEVER have to use!) Now we wait for snow! It’s late this year, see my bare backyard?! I thought maybe if I start making snowy cards, it would start snowing…you think?
And, since the…
promotion is still going on until November 30th…I figured now was as good a time as any to play with snowflakes! In my last post, I was playing with the Happiness Surrounds stamp set that is quite versatile…it’s not just for Christmas, which is why I bought it!
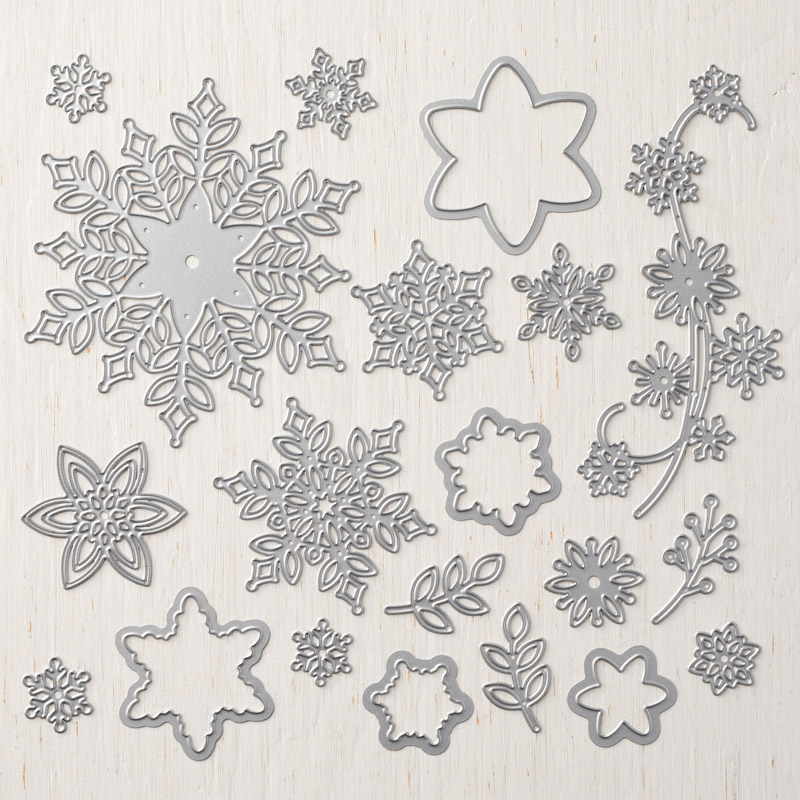
For this new card I used the snowflake thinlits dies to make all my snowflakes with Whisper White cardstock.
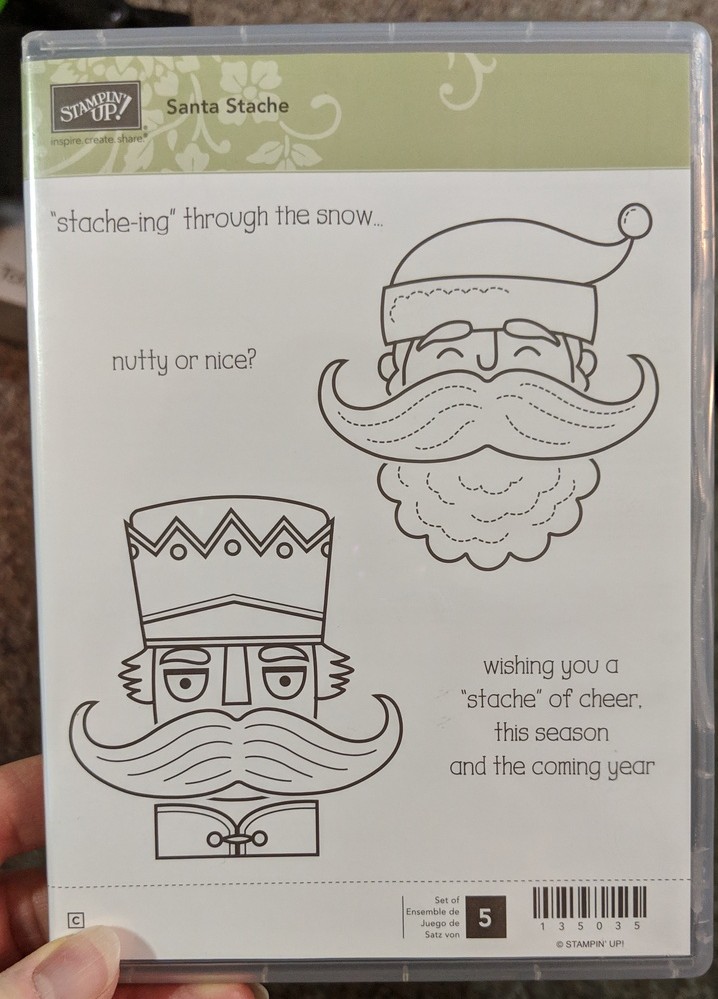
Then I brought out an old stamp set, that I haven’t even used yet (I got it when we moved and had no time to play with it) called Santa Stache! It is so darned cute! I plan on using this one for a couple cards this year. My hubster has a ‘stache almost like this and the beard to go with it!
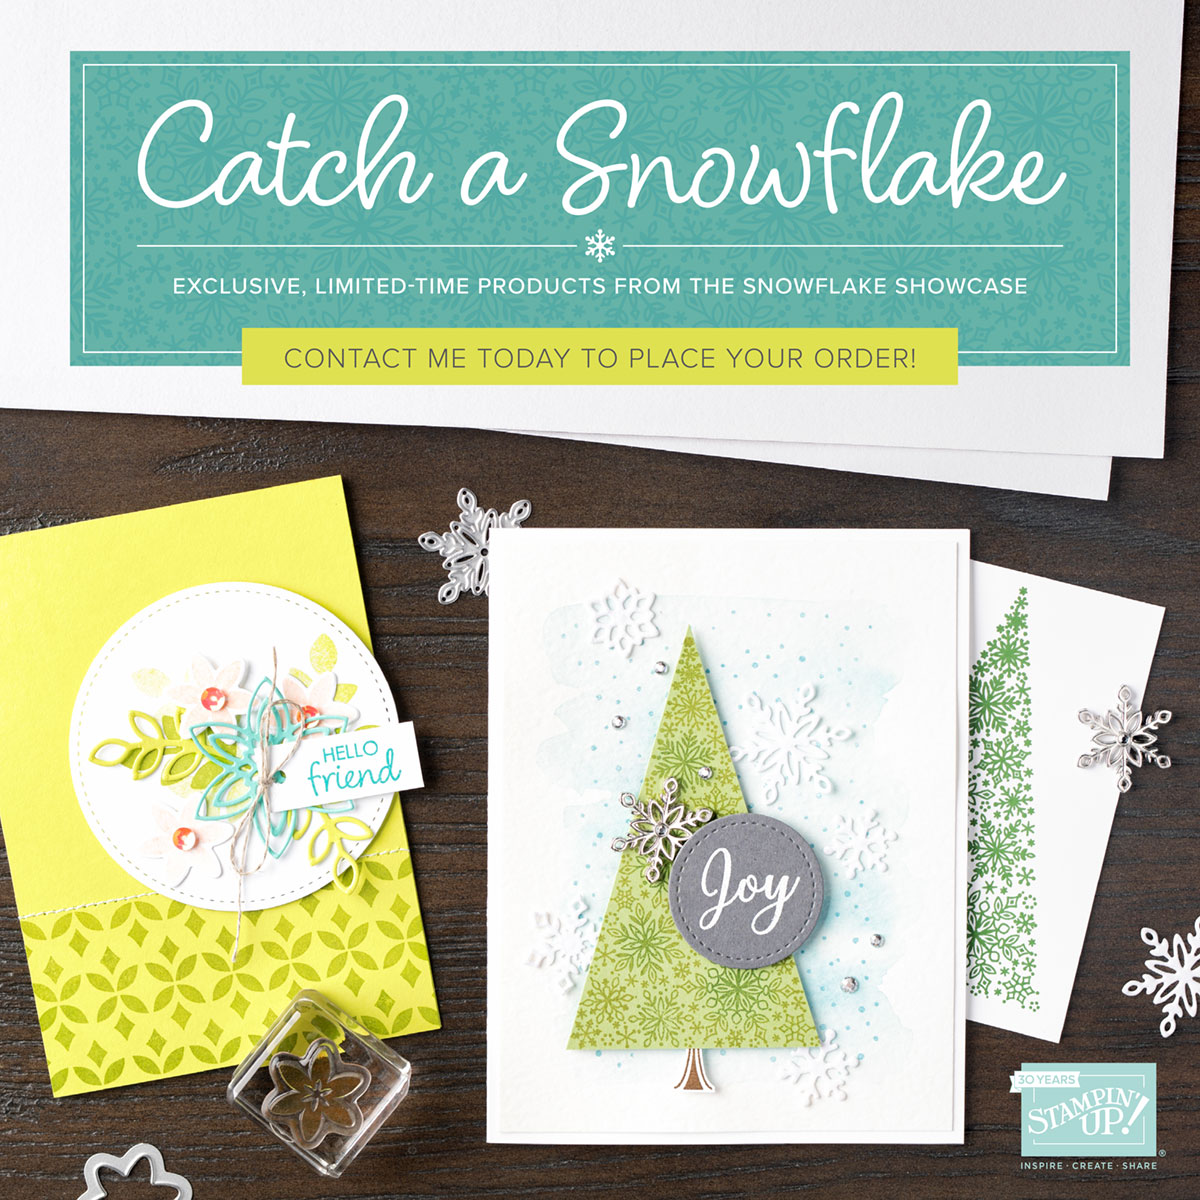
Oh, and before I get into details about the card…EVERYTHING I used, except the stamp set, Big Shot, and snowflakes IS ON SALE 10% OFF UNTIL MIDNIGHT WEDNESDAY 11/28. Click on the blue words and they will take you to my store. The snowflakes will not be sold after the 30th (Friday) of November. Don’t hesitate if you like what you see!
Together with Shaded Spruce cardstock for a base, Cherry Cobbler ink for the inside sentiment and distressing, Cherry Cobbler Stampin’ Blends for coloring the hat, Dashing Along DSP for the triangle swatch of paper, and Whisper White cardstock for the rest, this is the card that I came up with:
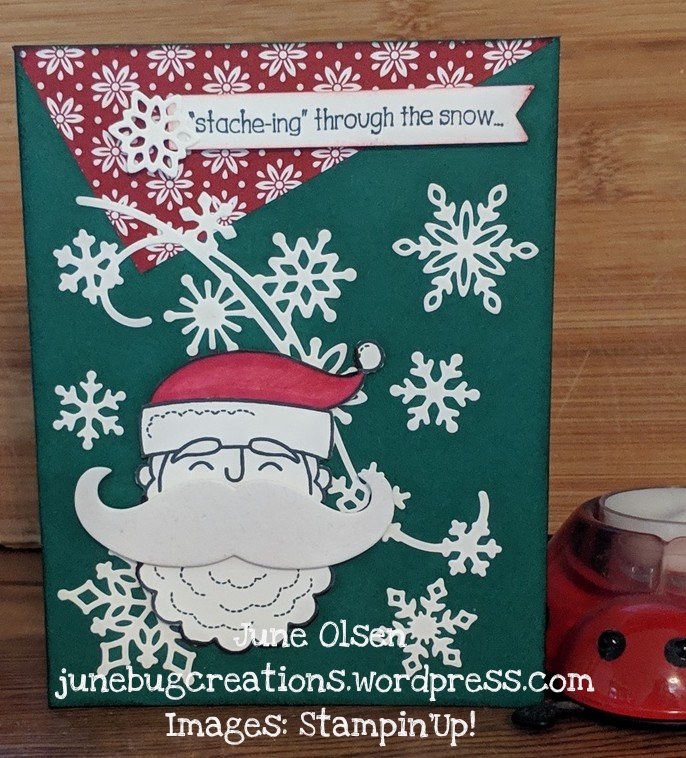
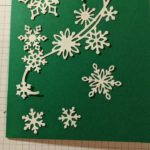
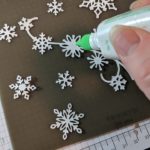
First I ran the thinlits through the Big Shot using the Precision Base plate, which is really really good for detailed dies like the snowflakes! Then I just dropped the snowflakes on the card to see what would look good. Once I made up my mind on the flow of the flakes, I had to glue them…I used the Tombo Liquid Glue and my silicone mat. Later I remembered that I have the Fine-Tip glue pen and would have made less mess had I used it! *sigh*
Then I stamped the Santa in Tuxedo Black Momento Ink on Whisper White cardstock and fussy cut using snips. I had already run the mustache through the Big Shot when I did the snowflakes. Why they didn’t do a framelit for the heads of this set when they did the mustache, I have no idea. At least it was not too detailed, so it was easy to fussy cut.
Usually I leave a small white border when I cut images out, just like the thinlits do, but this time I wanted the black edge. If I goof and don’t get all the white off or cut a little on the inside, then I use my Stampin’ Write black marker to “fix/hide” my errors.
I used dimensionals on the Santa and the sentiment to raise it up off the snowflakes. Also on the ‘stache to raise it off the face. I used a swatch of the Dashing Along DSP just to give it a pop of color. The sentiment on the outside and inside layer are distressed in Cherry Cobbler ink using my trusty sponge quarter. I also used the other sentiment from the set for the inside and it is stamped in the Cherry Cobbler. Love that deep red! Then I took the leaf stamp from the Happiness Surrounds stamp set and, using my Shaded Spruce ink pad, I stamped it 3 times without reinking. That’s a favorite technique of mine! Then I put adhesive on the back of the cardstock and stuck it inside the card.
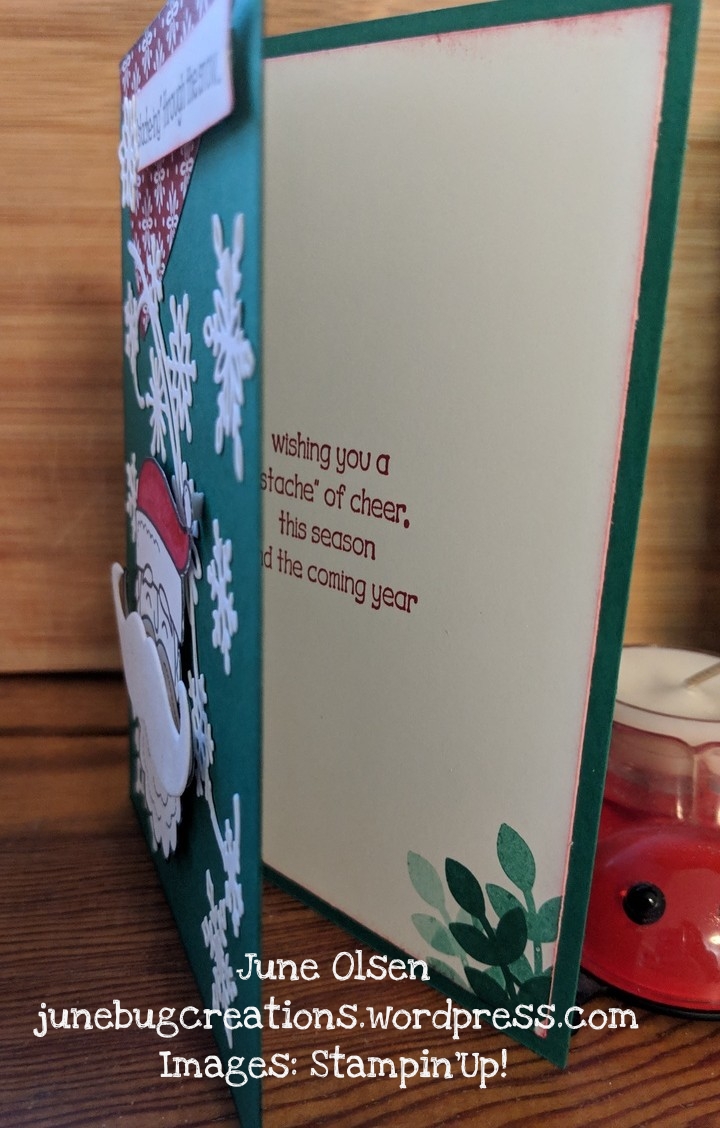
So, one last time. Here is my card. What do you think? Cute, huh? Love the 2 sentiments using “stache!” If you don’t believe me about my hubster, you can check out his ‘stache and beard in this previous post Here.

Thank you for reading and taking this crafting journey with me! It’s nice to have you along! Enjoy your Stampin’, Scrappin’, and Craftin’ journey and feel free to share with me! I love to see what others create!
Blessings, June
**If you like items that you saw me use, please feel free to order them from your SU Demonstrator or , if you don’t have a demonstrator allow me to become your demonstrator and click here now. If your order is less than $150, please use this Hostess Code and I will send you a personal Thank You card and gift. If you place an order over $150, enjoy the rewards you’ve earned and receive a special Thank You from me in the mail!
Click on pictures to see what’s happening currently at Stampin’ Up!:
Thru November 28th: Tools, inks, adhesives, thinlits, embossing folders, and more 10% off! Click on the picture now!
Until November 30th:
Until January 2nd:
Continuously:
Challenges this card has been entered into:
- HIMCR – #380 Any Holiday
- Crafting by Designs – Something Sweet
- A Bit More Time To Craft Challenge – Challenge #80 – Anything Goes
- Creative Craft Cottage – #113 Christmas is Coming
- Through The Craftroom Door – TTCRD Anything Goes Challenge Week 27th November
- 613 Avenue Create – #215 Anything Goes
- Crafting with Friends Challenge Blog – #76 Anything Goes



Comments 7
Beautiful card. Thank you for joining us at Creative Craft Cottage challenge good luck. Have a nice day
Anneke DT
Author
Thank you very much!
Great use of die cuts on this lovely card.
Thanks for joining us at 613 Avenue Create.
Hugs Sheryl xx
Author
Thank you! It’s always fun to play along!
Such a pretty project ! Thanks so much for sharing your awesome make with us , at TTCRD!! Thanks for joining our weekly challenge !! Good luck !
Claudia – DT
(https://1pandaideiascriativas.blogspot.com/ – My blog)
Author
Thank you!
Author
Thank you! It’s always fun to play along!