Hello! Happy Sunday!
I trust you are all doing well today and having a relaxing day! It’s a wonderful day to be alive!
Yes, I am on a roll and on a mission to get completely caught up with all my bogging of current and past (not too far back) projects!
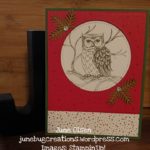
This is another card I made for the card swap using the Still Night stamp set and thinlits! Christmas! I had fun making this one! I did some more masking for this card! However, this time I did have the thinlits to go with this set and also discovered that maybe fussy-cutting masks is a must. “What?!?” You say. Yes, I did just type that. You’ll see in a moment why I am thinking that fussy cutting is better than using the thinlits!
I started with my prototype and ended with a different card. Actually, a couple different cards. This card evolved into the cards I made for the swap vs the card I started with. There are rules for the swaps. We need 3 layers. 1 base + 1 full 2nd layer + a 3rd layer of some sort. We also need embellishments.
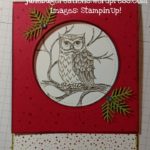
Here was my prototype…
Real Red cardstock for the base, cut at 4 ¼” x 11” and scored at 5 ¼” with an inch cut off the front of the card so that the Under the Mistletoe DSP shows at the bottom.
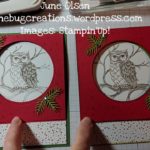
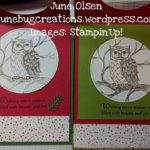
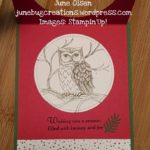
Here were my 2 alternates that came about because I needed that full 2nd layer to be able to use it for the swap.
(If I didn’t follow the rules, I would not be invited for other swaps and I would get my cards back. I know this sounds harsh and at first, I had the same reaction, however, when everyone follows the rules it just works!)
I chose the one on the left to use for the swap. Which one would you choose??
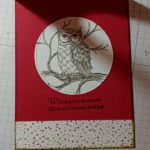
In the end, I actually prefer the one I chose for the swap best. I didn’t choose the one with the Old Olive card stock inside because I figured that attempting to get that circle in the right spot each time would be tough. It was easiesr to just trim the Real Red base down to 4” x 5 1/4″ and make the Garden Green card stock 4 ¼” x 5 ½” to back it up. That gave me my 2 full layers. Then the circle with the owl counted as my 3rd layer.
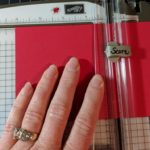
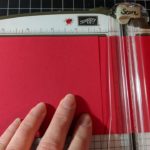
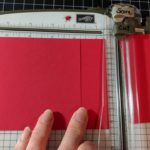
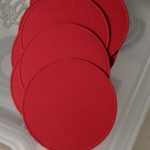
I ended up cutting, with my trimmer, the Real Red at 4″ x 9 3/8″ and scoring at 4 1/8″ so that I had a larger piece as a left over to use elsewhere versus having a 1″ small pieces. I also saved all the red circles to use for other cards and the white paper with the circles cut out as well. I always attempt to use as much of the leftovers on other projects as I can. I do not like to waste paper so I keep all scraps. Many scraps get used and I continue to challenge myself to use more of what I have. The ones I use the most are the white scrap strips…they get used for journaling in my scrapbooking!
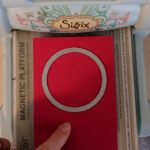
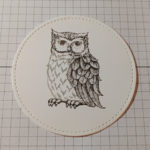
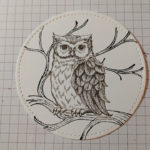
The circle was cut using the 3 inch Stitched Framelits. I really like these framelits and how they have that extra framed edge that looks like stitching!
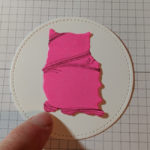
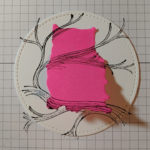
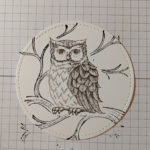
The masking came about so that I could stamp the owl onto the branch. There was some overlapping. As I said in the last blog post, masking allows you to give dimension to your stamping and create an overlapping of objects. In that case, it was the leaves. In this one, it was to have the owl in the forefront on the branch. I stamped the owl first using a Sahara Sand marker for the chest feathers and under the eyes. Then I used Soft Suede marker for the back feathers, feet, and the eyes. After stamping, I laid the mask over the owl and stamped the branch in Early Espresso over it. Now, as you can see, the lines don’t meet up because the mask was created with the thinlits on the Big Shot and are a bit larger than the stamped image. To make up for that I had to use my Early Espresso marker to attach the lines and make it all look blended. Not an easy feat and I had many re-dos! Another rule for the swap is clean stamping! Which I agree with wholeheartedly! That includes making sure that the branch fell where it was supposed to and that my “attaching” was smooth and looked like part of the branch that was missing! Hence, in the future, masks will be fussy-cut close to the stamped image so that there is not so much space! Although I may use the thinlit first and trim closer to the stamped image to help the fussy-cutting go faster. Now you understand!
I used Old Olive and Garden Green for the pine needles and Rhinestones for my embellishment. I also added a Garden Green one inside next to the sentiment.
The Under the Mistletoe DSP was used for the bottom strip of the card. I definitely need to use more of this paper!
That’s it! What do you think? Which version of the card do you like best?? Leave a comment below and let me know. I am truly curious! It was a tough choice…in the end, time was the biggest factor once again.
Thank you for reading and taking this crafting journey with me! It’s nice to have you along!
Enjoy your Stampin’, Scrappin’, and Craftin’ journey and feel free to share with me!
Blessings, June
Challenges this card has been entered into:
Crafting By Designs – Get Ready for Christmas September edition
Winter Wonderland Challenge Blog – Anything Christmas Goes
Crafty Hazelnut’s Christmas Challenge – CHNC Challenge 405
