Hello, All!
I trust you are all doing well today! It’s a wonderful day to be alive!
Yep, consistency is what I am working on with this blog, and I am not quite there. Thank you for your patience! Actually, I am typing these in Word while sitting in a car. My son is in the Hunter Safety class for 2 hours and it’s not really worth driving all the way back home and then going back to get him. I figure my time is better spent doing this versus driving an hour in round trips.
Today I bring you the technique I used to make the Grateful card from my last post for the Holiday Catalog card swap I just did. I used the leaves from the Colorful Seasons stamp set.
Today, I am here to show you HOW I made the diagonal strip of fall leaves. I took pictures as I was making the 11 cards for the swap. This is one of the few cards that I did not deviate from the prototype. Amazing!
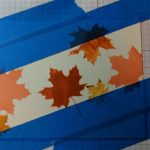
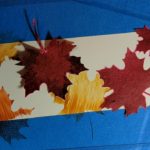
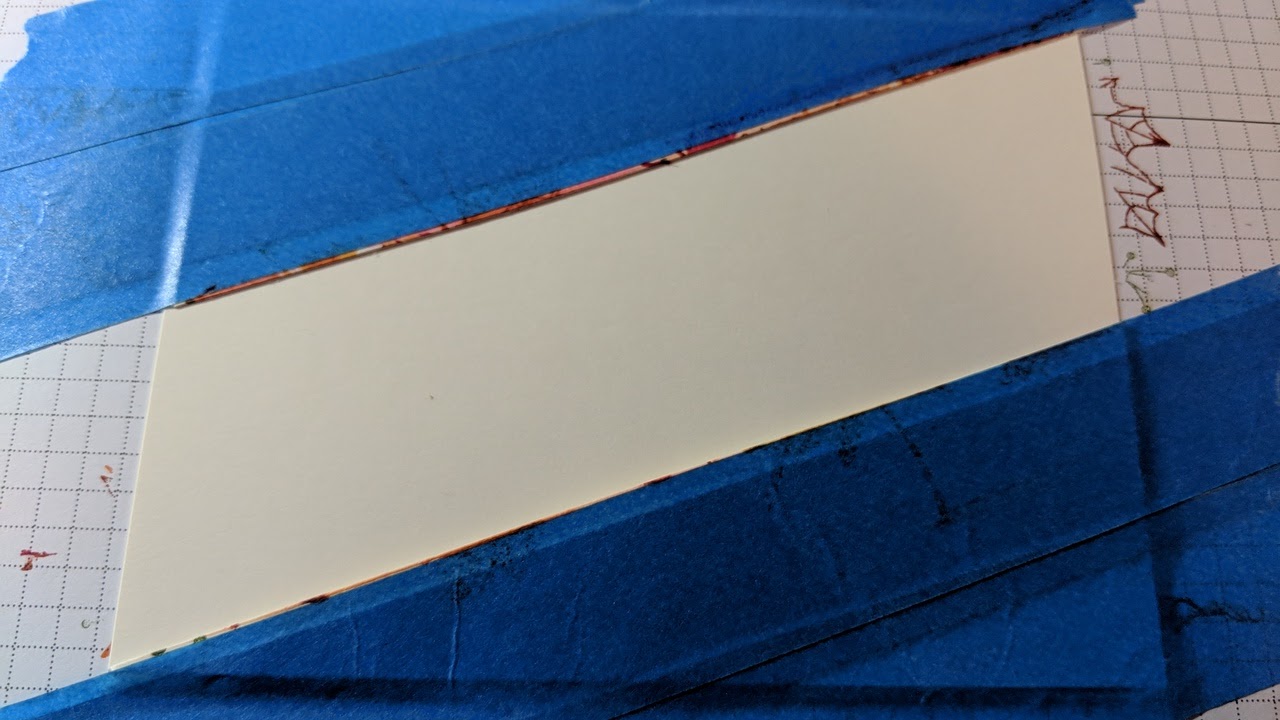
To start off with, I used painter’s tape to stick my card stock down and make the angle of the strip that I wanted. This works great…just make sure to clean up the ink on the painter’s tape, after stamping, with a Kleenex, wipe, or something other than your shirt sleeve or hand. Yes, I am speaking from experience. 🙂 When you get it all over your hand, it wipes back onto your card stock and then you have to cut the leaf strip out and glue it down to your card! And, yes, I did that, too!
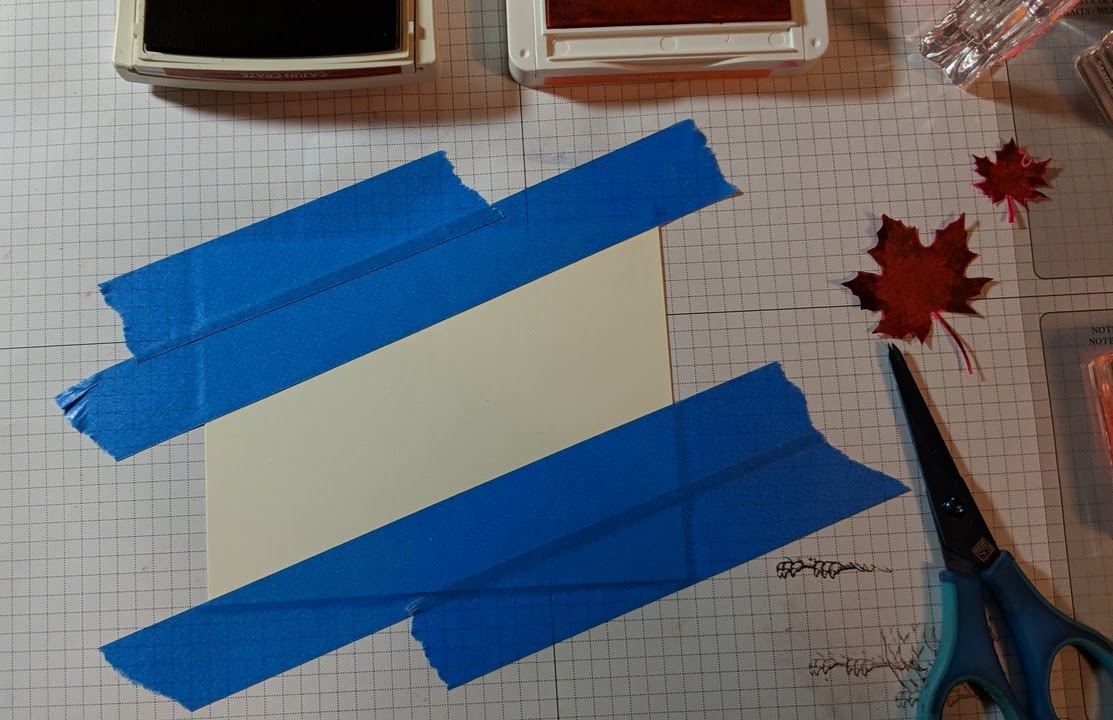
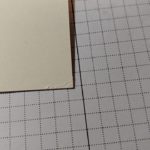
This card was not without its struggles! It also almost got completely altered due to frustration with the thinness of the tape…it bleeds through, folks! I had no idea! And, although it says it won’t stick, must mean to walls only, it not only stuck to my card stock, it pulled off a layer and so I had to cut the strip off and adhere it to a fresh piece. Man! Was I ever getting so very frustrated!
Then I had a break through idea…stick the corners of the cut card stock under the tape and stick the fresh card stock under that! Brilliant! It not only solved the thin tape issue, it also solved the tearing card stock and I didn’t have to cut the strip off anymore! It made things go much faster and it came out great!
Ok, now on to the stamping…
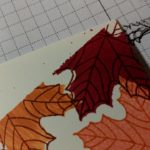
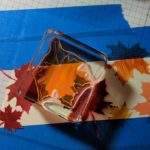
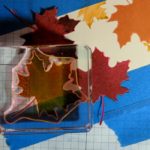
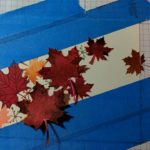
First, I created a few masks. What are masks, you ask? They are stamped images on post-it note paper and then cut out, because I don’t have the Seasonal Layers thinlits that go with this set (I remedied that this week for future use) I had to fussy-cut out the leaves. It’s work, but worth it. The mask goes over a stamped image to be able to stamp over it and give dimension to your pattern.
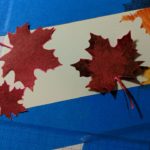
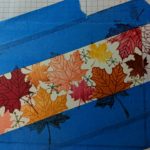
I used Cajun Craze, Crushed Curry, Real Red, Grapefruit Grove, Pumpkin Pie, and Mossy Meadow for my colors. I started with the big leaves first and then added the little ones in…then I switched that to see which way works better. I am not sure if there was a better way…I just made it work.
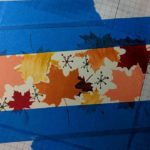
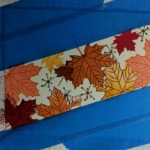
As you can see above, I stamped the leaves and then covered them with masks and then stamped over them in other colors and sizes. I used lighter colors for the large leaves and then stamped the spines in a darker color. I used the stamp of the inner parts of the flowers to make the little “seeds” that blow in the wind during the fall.
The nice thing about fall leaves is that they are not all perfect. Some leaves have parts missing and some have different shades. Any mistakes I made to my stamping didn’t glare out at me because falls leaves are as imperfect as my stamping can be at times…yet, I bet even you can’t tell where my goofs are! If you see any, please comment below…let’s see how you do at finding my mistakes! Maybe there will even be a prize in your future…;)
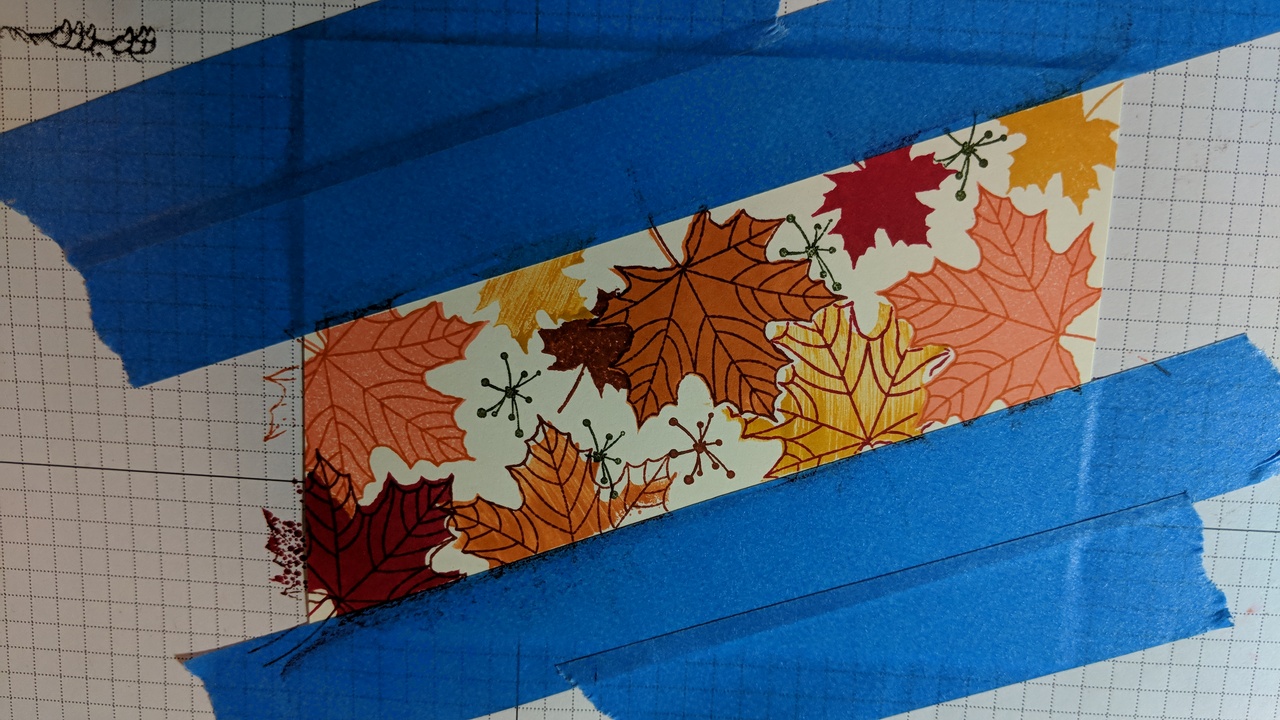
Overall, this card did turn out lovely and although I had some frustrations, I did not alter the card from the prototype and that is a rarity. Nothing better came to me, so I had to find a way to make it work…and I did! See finished card HERE
Have fun using this technique now that you don’t have to muddle through! Learn from my muddling and you will have it made! Share with me how you use this technique with your cards and scrapbook pages. Hmmm, yes, scrapbook pages…now I am going to have use this technique to do that too! Lots of ideas already rolling in my head for my Dad’s Life Album!! I’ll show you soon!
Thank you for reading and taking this crafting journey with me! It’s nice to have you along!
Enjoy your Stampin’, Scrappin’, and Craftin’ journey and feel free to share with me!
Blessings, June
