Good Morning on this snowy Colorado day!
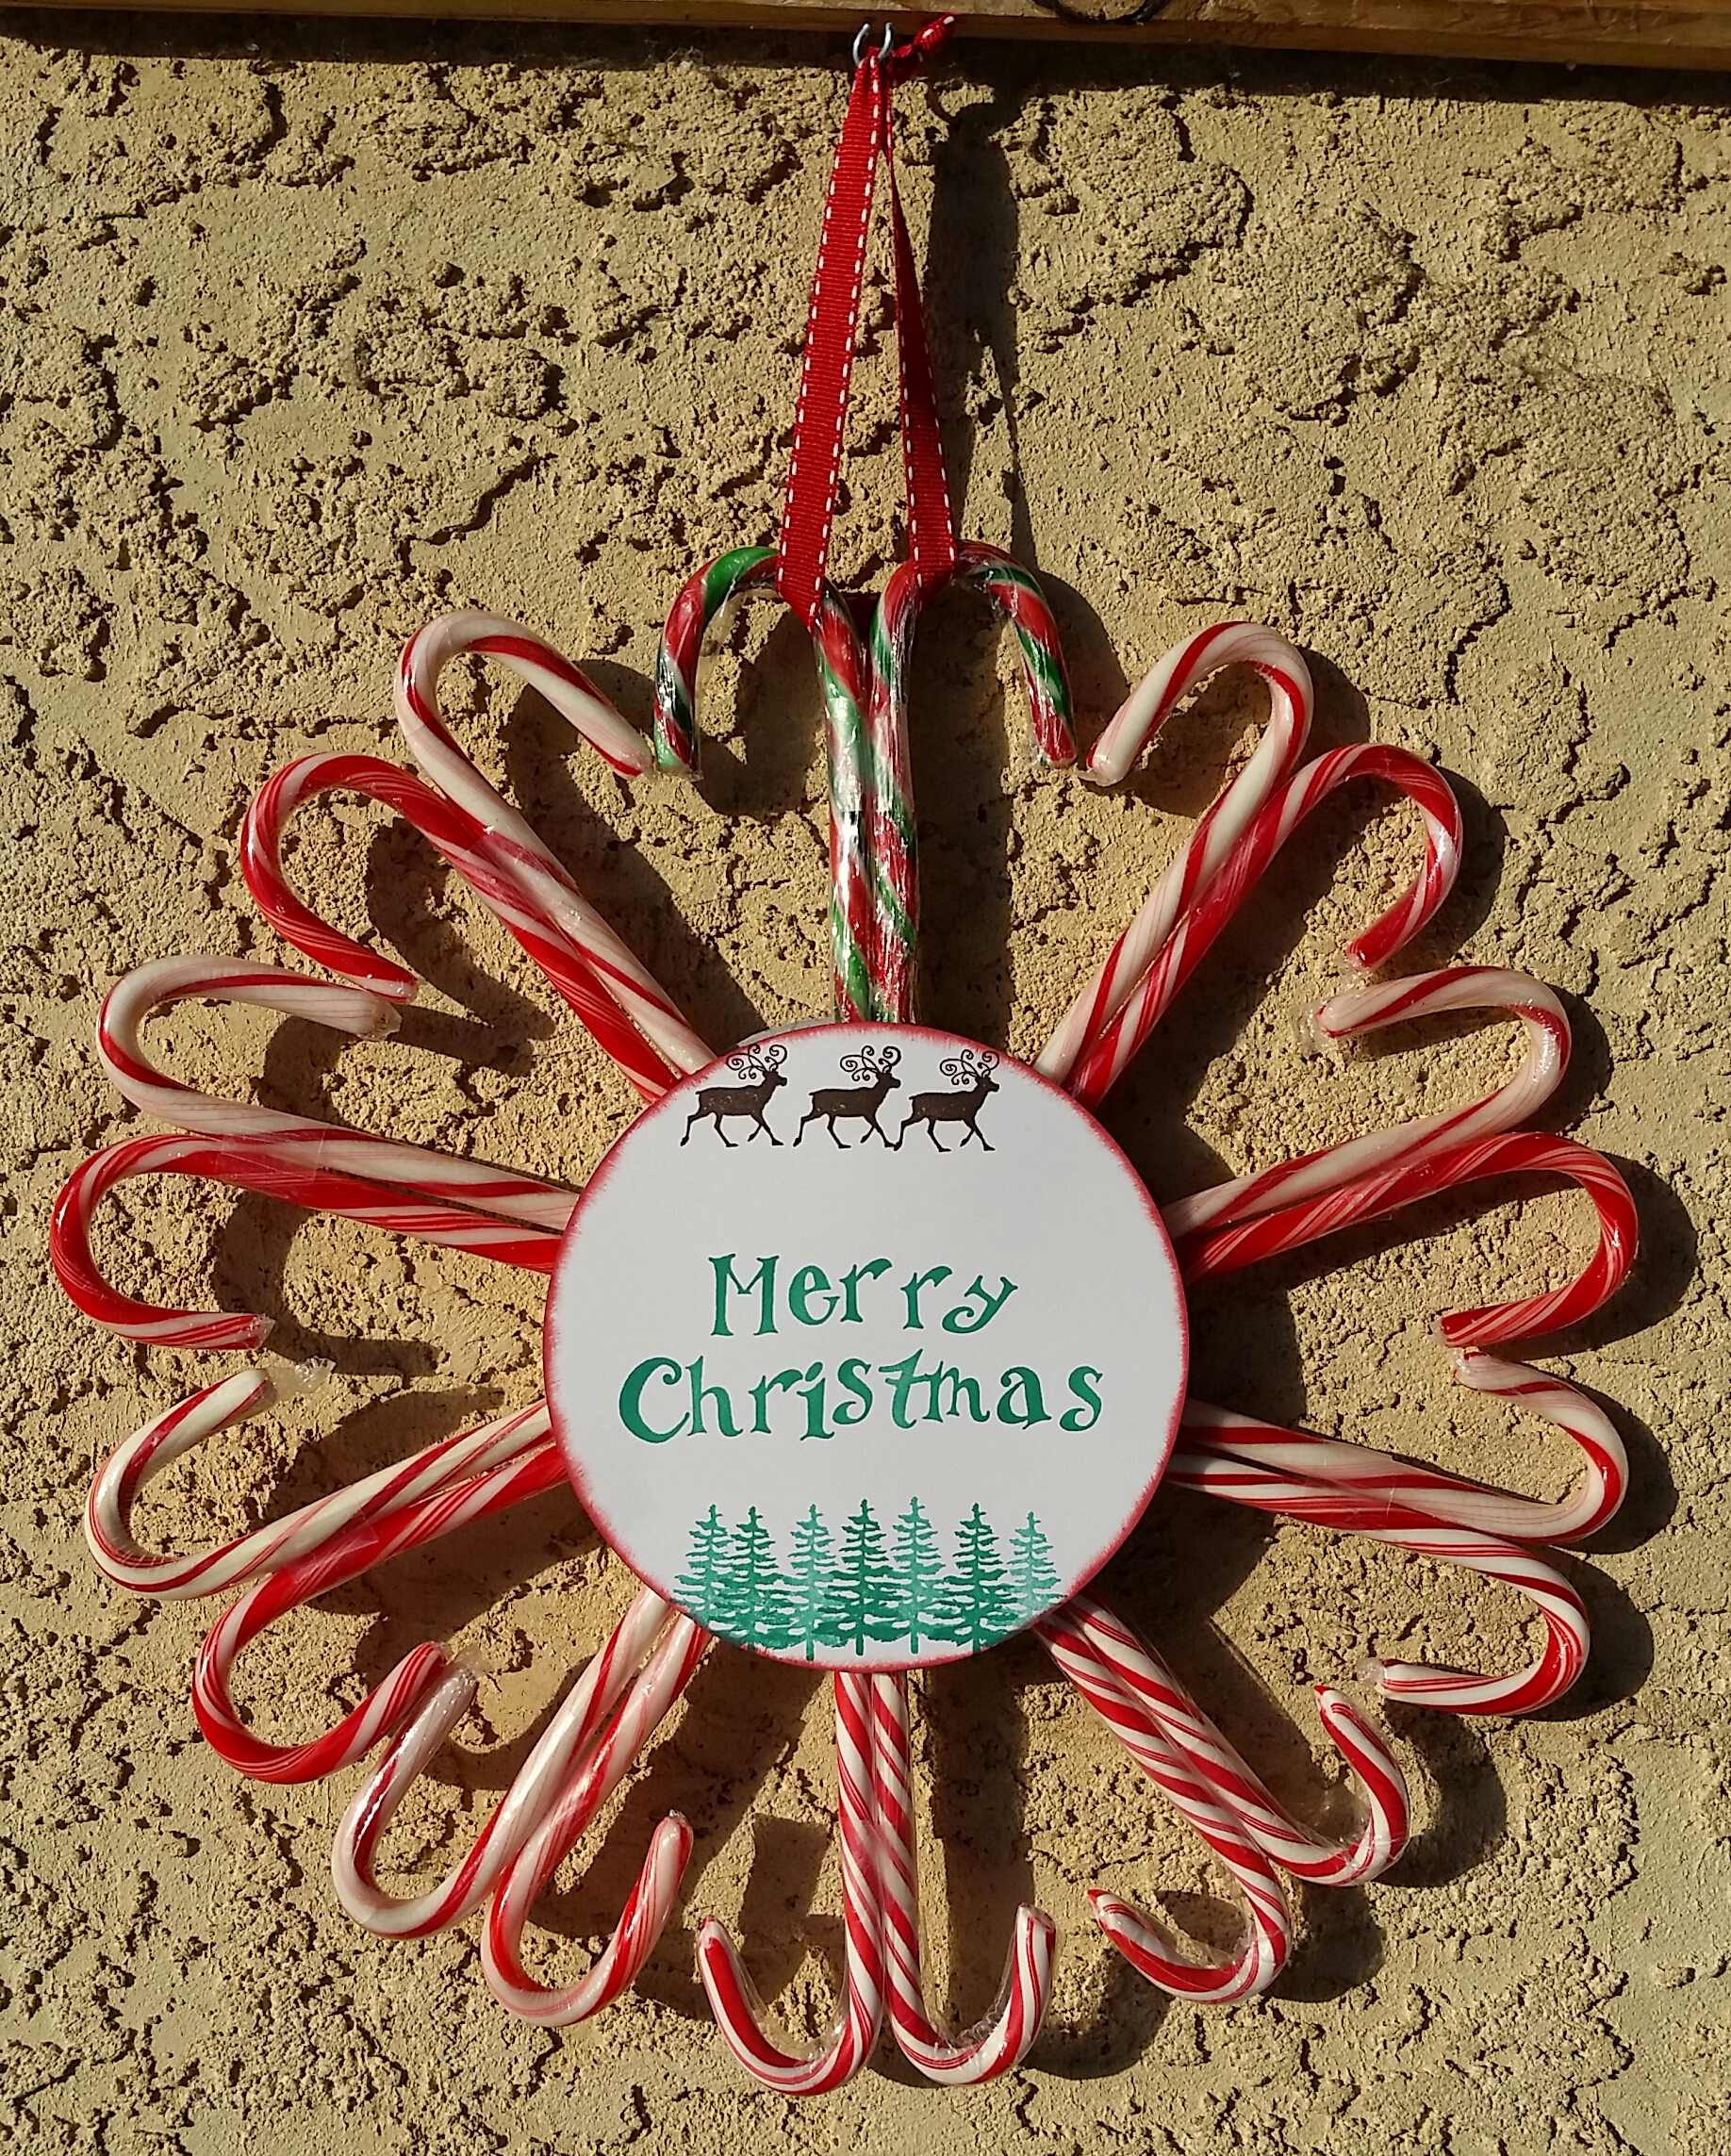
It’s been a little while. I have been subbing quite a bit and too pooped most evenings to craft. However, the other day, I finally made up my mind that I had to get this wreath done! I had seen it on Pinterest and had a bag full of old candy canes that needed to be used for something…this was it! I used 20 instead of the 18 the ones on Pinterest used. Don’t know if theirs were smaller, or more uniformed, but 18 left too big of a gap between the curves. So, my 20 had to do. And, of course I did not have all the exact same colors and styles because these are left over from many, many years of buying boxes and not giving or eating them all. I did take all the fruit flavored/colored ones out of the running for this wreath though. Had to draw the line somewhere.
I got it all laid out. Arranged the colors and candy canes to my satisfaction and then taped in 2 spots the long parts of the candy. Then I started taping the curves together – DON”T DO THAT! It does not work! I broke a few of the candy canes and luckily, I had plenty to replace them. It’s kind of the reason for the eclectic candy canes used.
I used stiff card board from my Paper Pumpkin inserts (I knew those would come in handy if I kept them!) and made the circles using my cutting system from Creative Memories. I still think it is one of the best…had to run the blade around 2x, but it cut it! Yay!
Next, I did all my stamping using a retired alphabet set called Antiques, upper and lower case. It’s one of my favorites. I am an alphabet junkie! I have so many stamp alphas, stickers, wood, chip board, and even collect alphabet books!
Anyway, I also used the tree and reindeer stamps from the Greetings from Santa set that is in this year’s Holiday catalog and on the retired list right now. You can get the HERE. I stamped the trees in Emerald Envy and did my favorite technique of inking once and stamping 2 or 3 times. I used Chocolate Chip for the reindeer. The Greeting is also in Emerald Envy. Then I used Cherry Cobblet to distress the edge with a dauber. Gives it a nice border.
Then I got out my glue gun. Oh, poop! The trigger was broken and sticking out! How the heck did that happen?! So, I grabbed my chargeable ColdHeat one. Charged one of the battery packs until the light turned green…put it on the gun…gun says it’s dead. Did this a few times with both battery packs. Still no heat. Dang it!!
On to the adhesive basket to see what else I had! I was determined not to put this off any longer! Max Tacky Glue is what I found that I thought would work! Wrong..kinda! It finally held many of the candy canes, but not all, by the next morning…and not without warping my card board and making the stamped circle look terrible! And I had already stamped that darned thing 4 times to get it just right! I was not thrilled!
When my hubby came home from his movie with a friend, I showed him my glue guns and he said to let the charger go all night and see what happens in the morning. It worked! I was happy! And then I re-stamped the front greeting and kept it off. I cut a new circle for the bottom and reused the top one. Then pop dotted my good greeting and put it on top. Of course, the hot glue did not warp the cardboard, but I was not taking any more chances.
Even though this was not as easy as it looked, it was still a fun project and possilby one that could be made as gifts too! Now that I have my own trial and error one finished, the next one will be super easy!

So, what do you think? Not so bad! We will see how it holds up in the cold. It’s hanging outside next to the front door.
Off to do some more subbing, 3rd grade for the next 3 days. WooHoo! Enjoy your day!
Happy crafting!
Blessings, June